
This article was written in partnership with WeVideo Ambassador, Lucie deLaBruere. Lucie has been on the leading edge of education for over 30 years and is an incredible resource in the WeVideo community, so we invited her to share some of her favorite digital tools for documenting and reflecting. Follow Lucie on Twitter @techsavvygirl. Her Create Make Learn blog is filled with ideas and tutorials for designing hands on-minds on learning opportunities.
We often hear about the significance of student voice, and how educators play a key role in helping students amplify their voice. However, sharing personal thoughts and opinions about a learning experience or a life event can be a major hurdle for some students, and can be especially intimidating for introverted students. How can we help all students feel heard and recognized?
Educators can support students as they gain the confidence to amplify their voice by:
- Letting students choose which tools they use in expressing themselves and communicating their message.
- Encouraging students to become more invested in their learning by choosing topics that are meaningful to them.
- Allowing students to select the channels and tools used to communicate their message.
- Providing students with accessible tools for reflecting on their learning process.
Some tools focus on all or one of these areas. In this article, we’ll focus on tools that educators can use to encourage deeper reflection and documentation of learning among their students. These online tools are all easy-to-use, designed for classroom use, and are especially excellent for supporting student reflection and voice.
1. Google Apps: Photos, Slides & Drive
We’ve often heard that the best camera is the one in your pocket! In today’s culture where most teachers and students carry a phone with a camera, it’s easier than ever to capture images and videos of learning. Adding the Google Photos app to your Smart Phone and turning on Automatic Backup can help you make those pictures and videos easily accessible for documentation and reflection from any computer, tablet, or Chromebook. It also makes it easy to share collection of photos and videos with students to use as documentation of learning or for students to share with you as evidence of learning.

I encourage students to take many ‘short’ (about 5-10 second) videos and photos to document their learning journey. I also take tons of photos and videos as I walk around the room. As a teacher, I might notice different learning moments than my students. With the Assistant feature of Google Photos, I can literally have a short movie or collage of a learning activity ready to share with my students before the class is over.
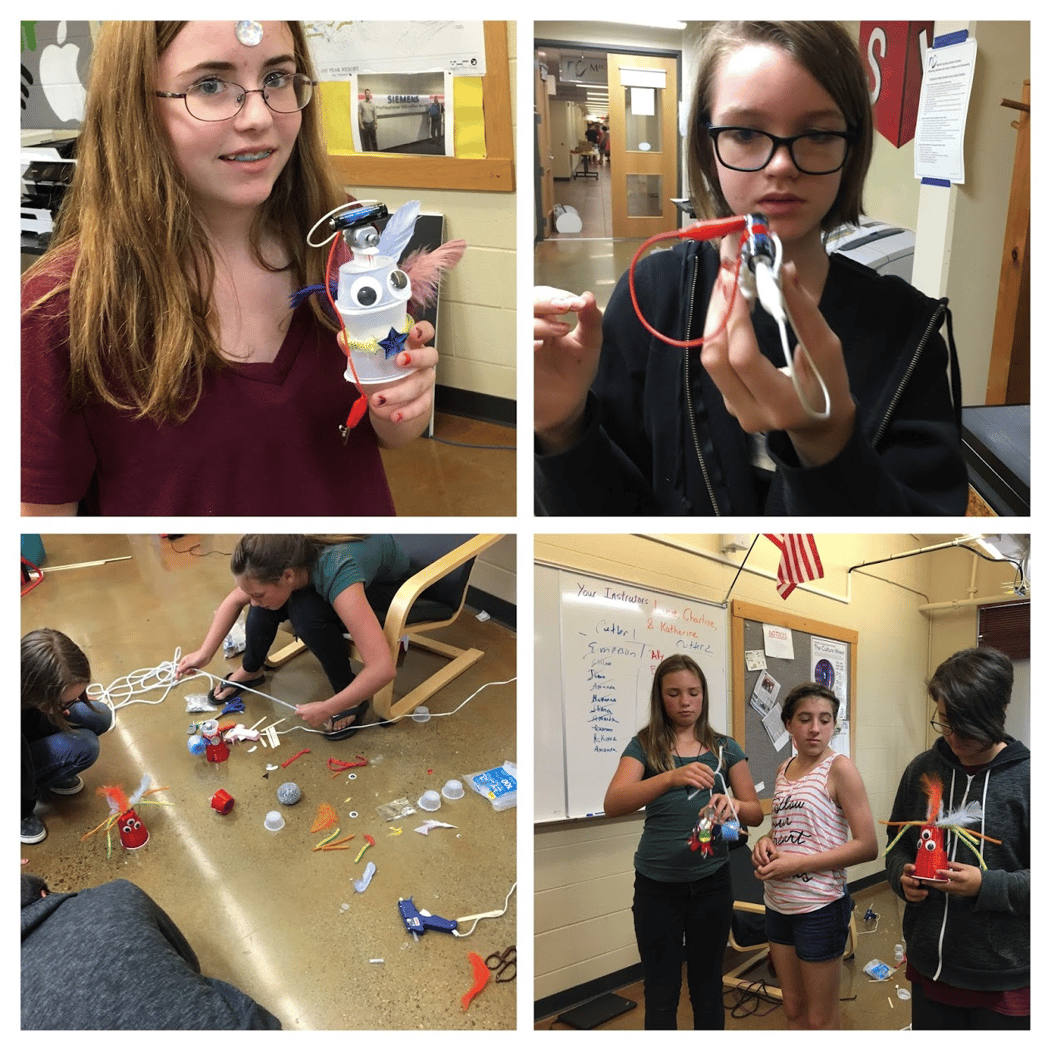 Here’s a collage of 4 students sharing evidence of inventive thinking captured with Google Photos and organized into a collage using Google Assistant.
The movie version of Google Photos found under the Assistant tab works great for quickly combining videos and still photos into a quick video with music. With much of the pre-production work completed in Google Photos, I often import the quick movie into WeVideo for a little post-production work such as adding titles and other effects.
In this example, the pre-production work was completed in Google Photos from photos and videos captures during our Hack a Toothbrush Learning Activity, and WeVideo was used to fine tune the video and add titles and effects.
Another trick I’ve learned for getting my Google Photos into WeVideo is to organize them into an Album. Once Google Photos are organized in an Album, they can be imported into WeVideo them using the Import Media tab.
Of course, Google Drive makes it easy for you and your students to create a Shared Folder in Google Drive and add your photos and videos to the Shared Google Drive Folder. Consider asking students to capture a photo that warrants further investigation during a field trip and adding them to a shared folder as an entry point into inquiry-based learning unit.
Another option is for students to add photos directly to Google Slides along with a reflection question. By downloading the completed Google Slide deck as a PDF, photos can be uploaded to WeVideo and quickly turned into a student created video introduction.
2. WeVideo
WeVideo has proven to be indispensable in our learning environments in so many ways that many of our school's districts make sure that every student in their schools has an account to document their learning. Whether it is used as a tool for teachers sharing instructions to students or for students to provide evidence of learning to their teachers, the accessibility factor cannot be beaten! Students can access it anytime and from anywhere. They can start a project at school and finish it on their home computer.
And now WeVideo includes a robust content library, with hundreds of thousands of audio, video and image clips that students can use in their content. This feature significantly reduces the amount of time students spend on finding, curating and sourcing content from the internet for their green screen videos. With WeVideo, the possibilities are endless - students use it for creating their own videos, developing digital yearbooks, morning announcements, STEM projects, and podcasts. The green screen feature has allowed both teachers and students to tap into their imagination of what’s possible when developing creative multimedia projects.

One of the most powerful ways to use video that teachers have found is for recorded student reflections. With WeVideo’s screen capture feature, students can also record their screen and talk about their work without having to be on camera. This feature makes it easier for camera-shy students to get started.
Want to see WeVideo for documenting and reflecting in action? Here is footage from Tech Savvy Girls Camp where 60 girls grades 4-9 used WeVideo to capture their project reflections. During the week-long summer camp, they completed a project where they created their own vinyl labels. Here's a video documenting the process of creating with vinyl.
This is a video of one student's reflection on the project. She comments on her design process, the tools she used throughout the project and the changes she made along the way. Recording student reflections and compiling them in WeVideo is a very simple way to leverage video on a regular basis, and the students love to look back at what they created.
3. Padlet
Another favorite tool for documenting and reflecting is Padlet. A teacher can create a reflection board or a quick formative assessment as Padlet allows students to easily get started without any login information. In this Padlet, we asked a group of students at TechSavvy Summer camp to reflect on something they had learned by midweek. Padlet allowed the students to post their reflection using a wide variety of options.

Two options that work especially well with WeVideo was for students to upload a movie they have created in WeVideo or to add a link to their WeVideo videos. Another way to use Padlet with WeVideo is to use it as a media collection tool. You can have a group of students easily post audio, photos, videos, and text to a Padlet board and then use Padlet’s download feature to grab the media you want to use as media assets for your WeVideo projects.

4. VoiceThread
VoiceThread provides some unique features for reflecting and collaborating using rich media. With VoiceThread you can add video, audio, photos or other media as a central artifact and allow others to comment on your artifact using either text, video or audio. In this VoiceThread we used photos of four different groups of students as artifacts. We wanted each student to add a quick video reflection to the photo that represented their group's progress in an area they had gained confidence in during the week.
Some of the video comments were added directly on VoiceThread, while others were created using WeVideo and uploaded to VoiceThread as a comment.
VoiceThread offers so many different entry points for using rich media as reflection. Your media can serve as the artifact in the middle of the VoiceThread or it can become one of the comments around the artifact. VoiceThread offers both a free version and an EDU version with controls for educators through a teacher dashboard. There is even a new feature that can create closed captions from the video and audio.
What about digital safety?
When using online tools for student reflection and voice, it’s also important to consider how we approach digital safety for our students. Before jumping into any of these programs, take these items into consideration first:
-
- Evaluate the pros and cons of using private and public spaces for reflection
-
- Give students choices for sharing reflection with a limited audience (maybe just the teacher) because not all students feel safe reflecting in front of their community or peers.
-
- Make sure that identifying information such as names and addresses are not visible when including pictures and videos of students in public spaces
-
- Review digital citizenship with your students early in the process and continue to encourage good digital citizenship over time.
-
- Teach students how to comment and provide feedback respectfully when a student is sharing their reflection or ideas. (Here is a great article that talks about how to encourage empathy building among students).
-
- Point students to places where they can go if they ever feel unsafe or disrespected when posting content online.
- Have a process in place for organizing media release and opt-out forms.
Making reflection fun and meaningful to learning
When students reflect on their ideas, processes, and skills they naturally start to take a more active role in their learning. And, they become even more invested and engaged when they’re involved in the process of selecting HOW they communicate their reflections with teachers and peers.
Want to learn more?
Learn how WeVideo for Schools powers deeper learning by trying it out with a 30-day classroom trial or a structured pilot evaluation program.